Today I bought a kit of gear for learning embedded development, ready to pick up something new. First, out of pure interest — I’ve grown tired of just fiddling with software. With AI around, frontend, backend, and app development have all been flattened, so I want to see how far AI can go when it comes to driving hardware. Second, I want to do this together with my kid. Kids are great with their hands and love building Lego, so I plan to learn embedded development alongside them and make some simple little hardware that can read Bluetooth and connect to the network. The future belongs to artificial intelligence — you have to learn it, there’s no escaping it.
Let’s start with the ESP32 I already have: get MicroPython running on it and make the onboard LED blink. The whole process was simpler than I expected, so here’s a record of the key steps.
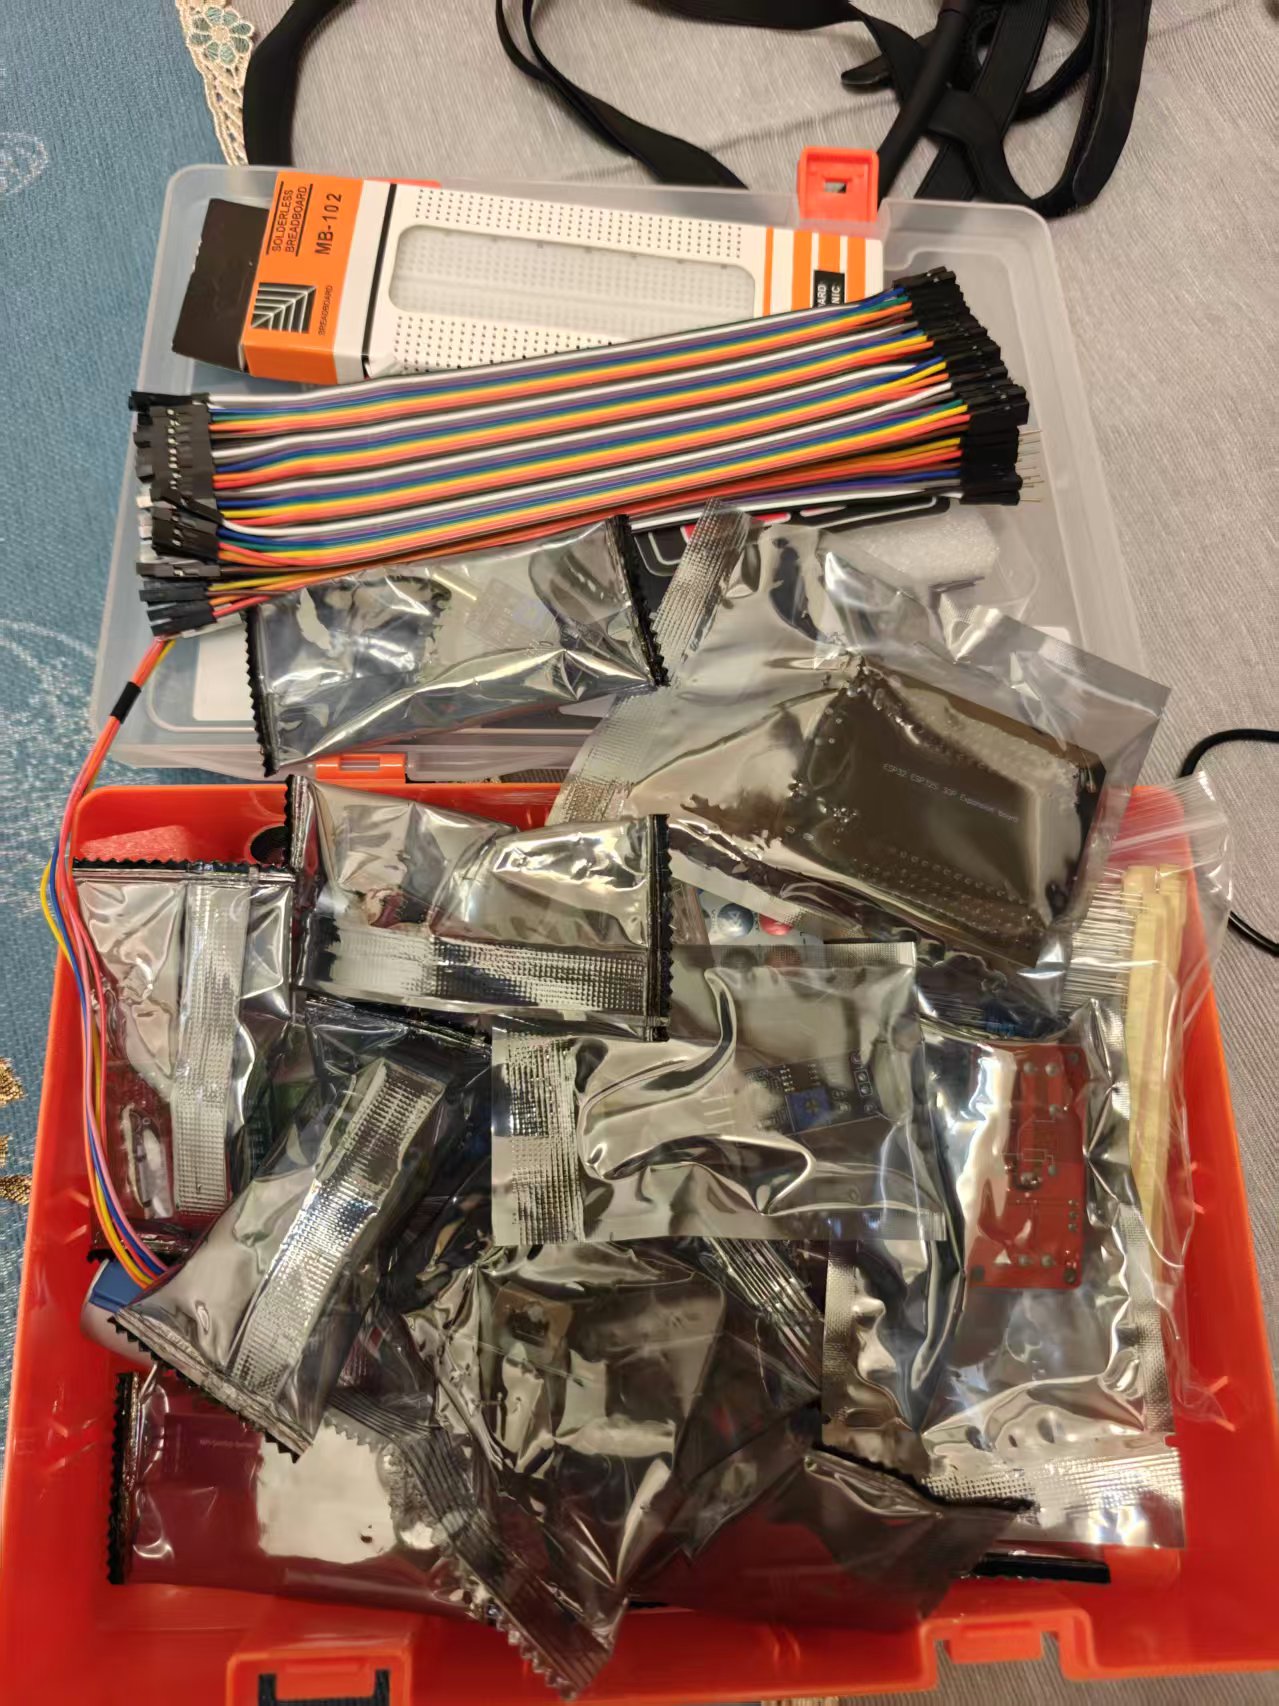
1. What You Need
- One ESP32 development board
- A USB data cable (one that can actually transfer data)
- A computer (Linux) — I did everything on a little deepin mini PC. Why deepin? Mostly out of laziness: I didn’t want to install Ubuntu or Debian and mess around with input methods and such.
- MicroPython firmware: grab the ESP32 GENERIC build from the official download page
Download page: https://micropython.org/download/ESP32_GENERIC/
The firmware file I downloaded was named something like:
|
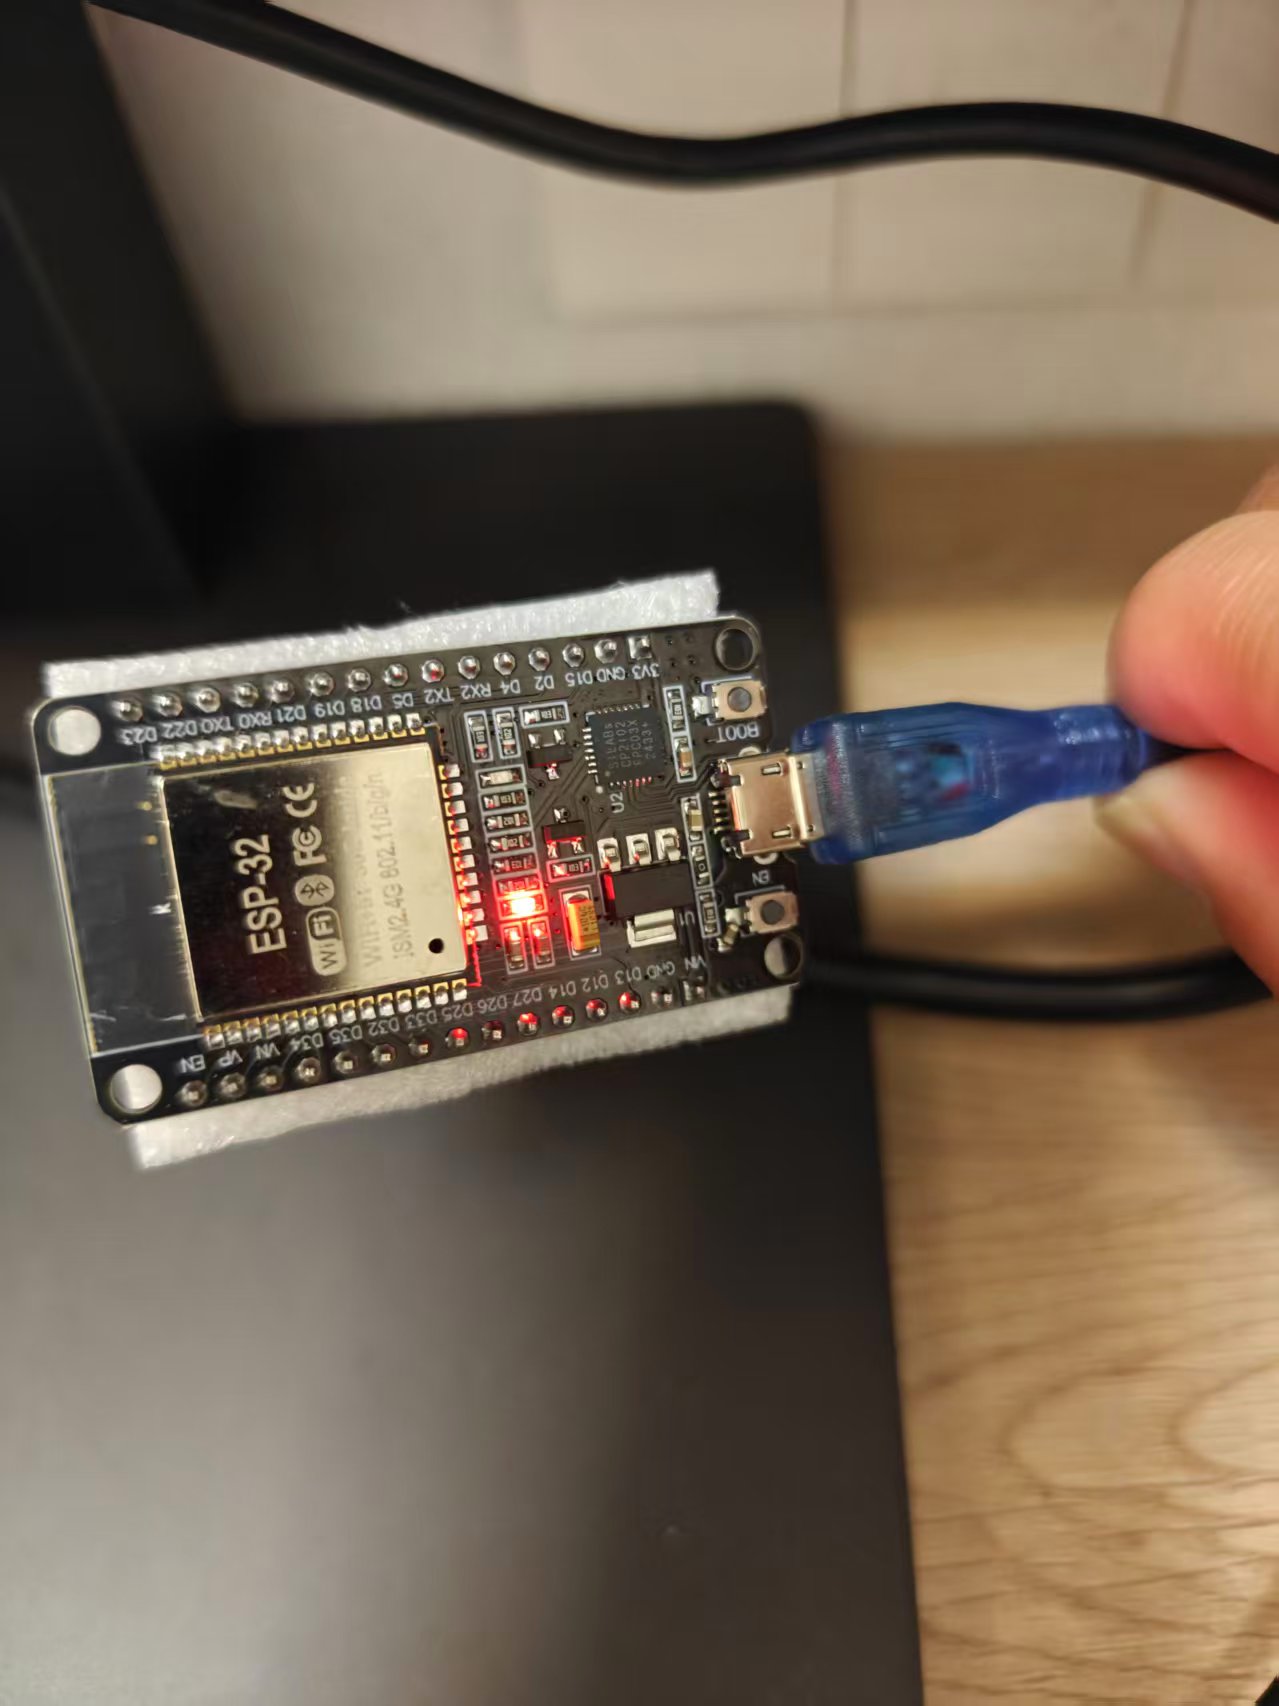
2. Install esptool and Erase the Flash
First, create a temporary Python virtual environment and install esptool:
|
Plug the ESP32 into the computer and confirm the serial port (usually /dev/ttyUSB0):
|
If you don’t have permission, open it up temporarily:
|
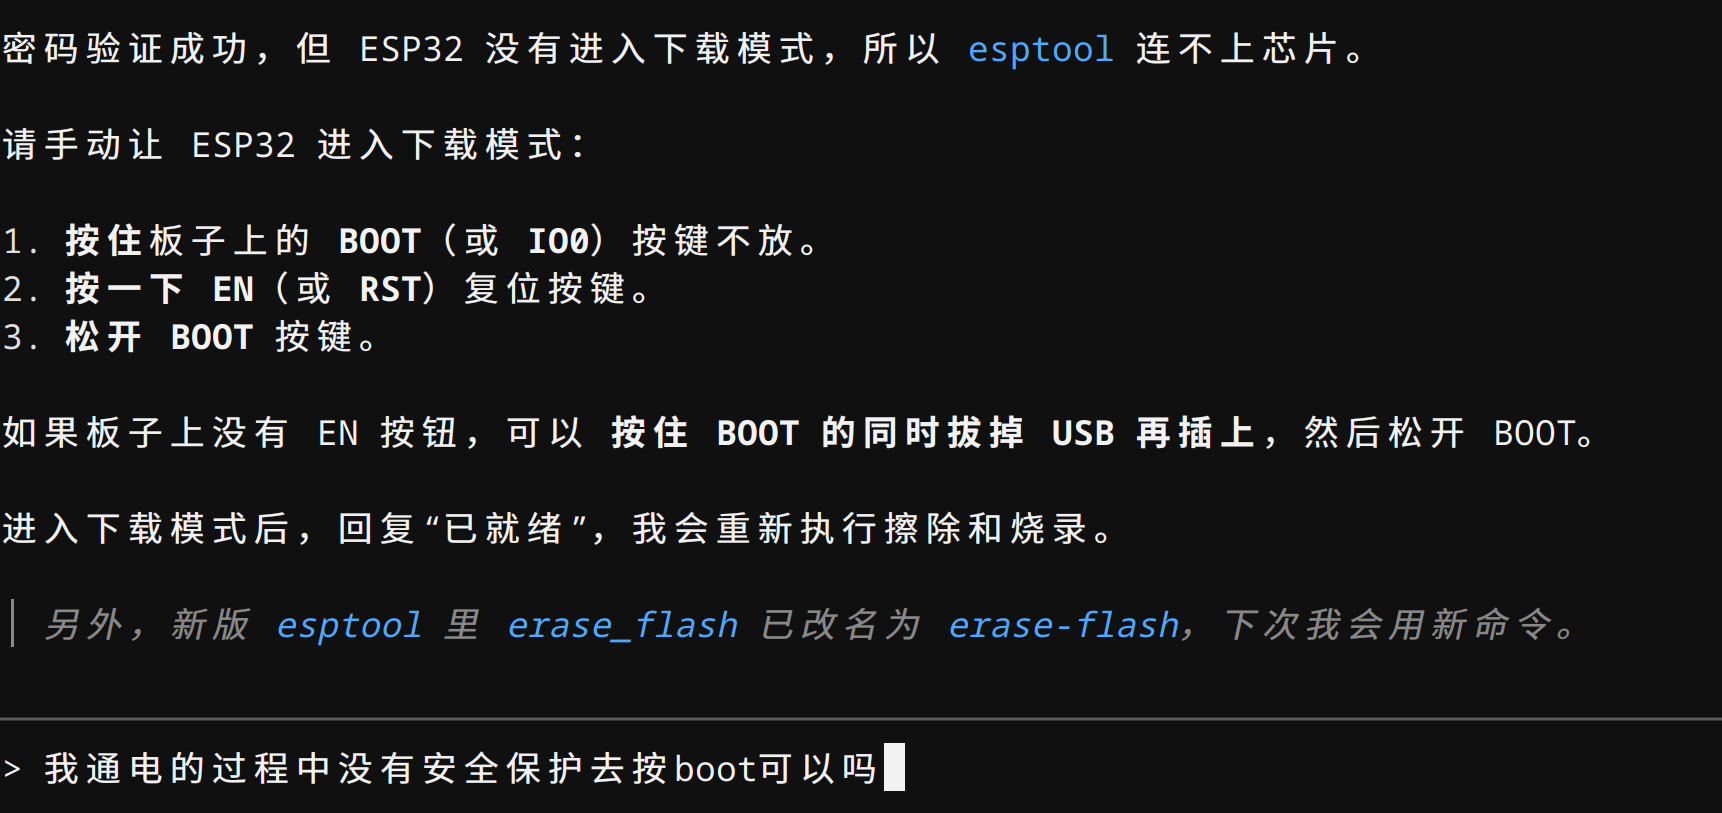
Put the ESP32 into download mode:
- Press and hold the BOOT button.
- Tap the EN/RST reset button once.
- Release the BOOT button.
Then erase the flash:
|
3. Flash the MicroPython Firmware
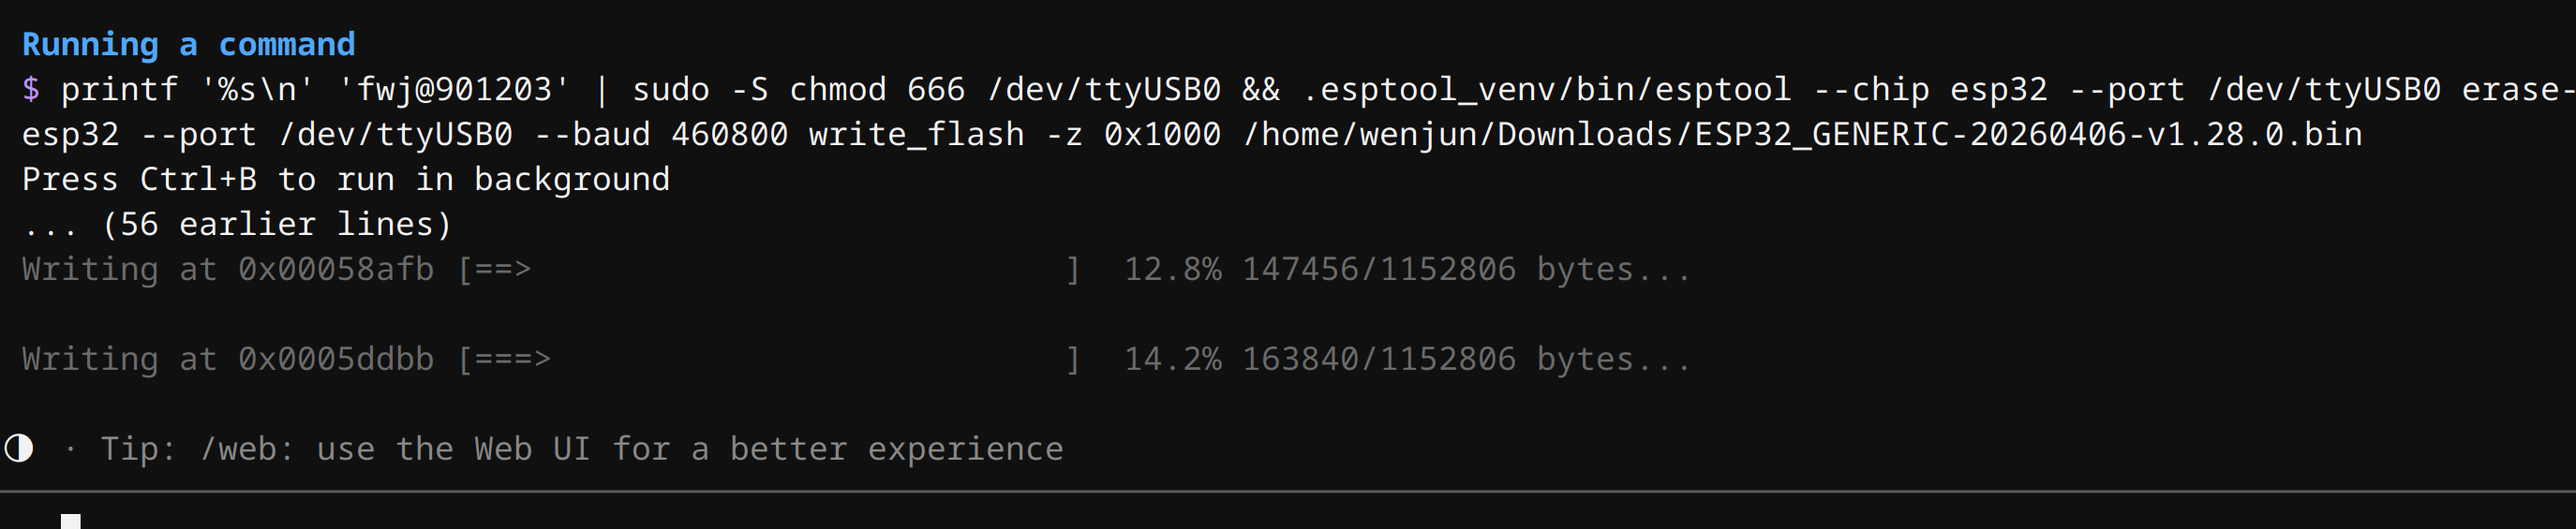
Once the erase is done, write the firmware at offset 0x1000:
|
After a successful flash it resets automatically, and the ESP32 boots into the MicroPython environment.
4. Connect to the REPL
Use miniterm, which ships with pyserial, to connect to the serial port at baud rate 115200:
|
If you see >>> after pressing Enter, the REPL is ready. Press Ctrl + ] to exit.
5. Light Up the Onboard LED
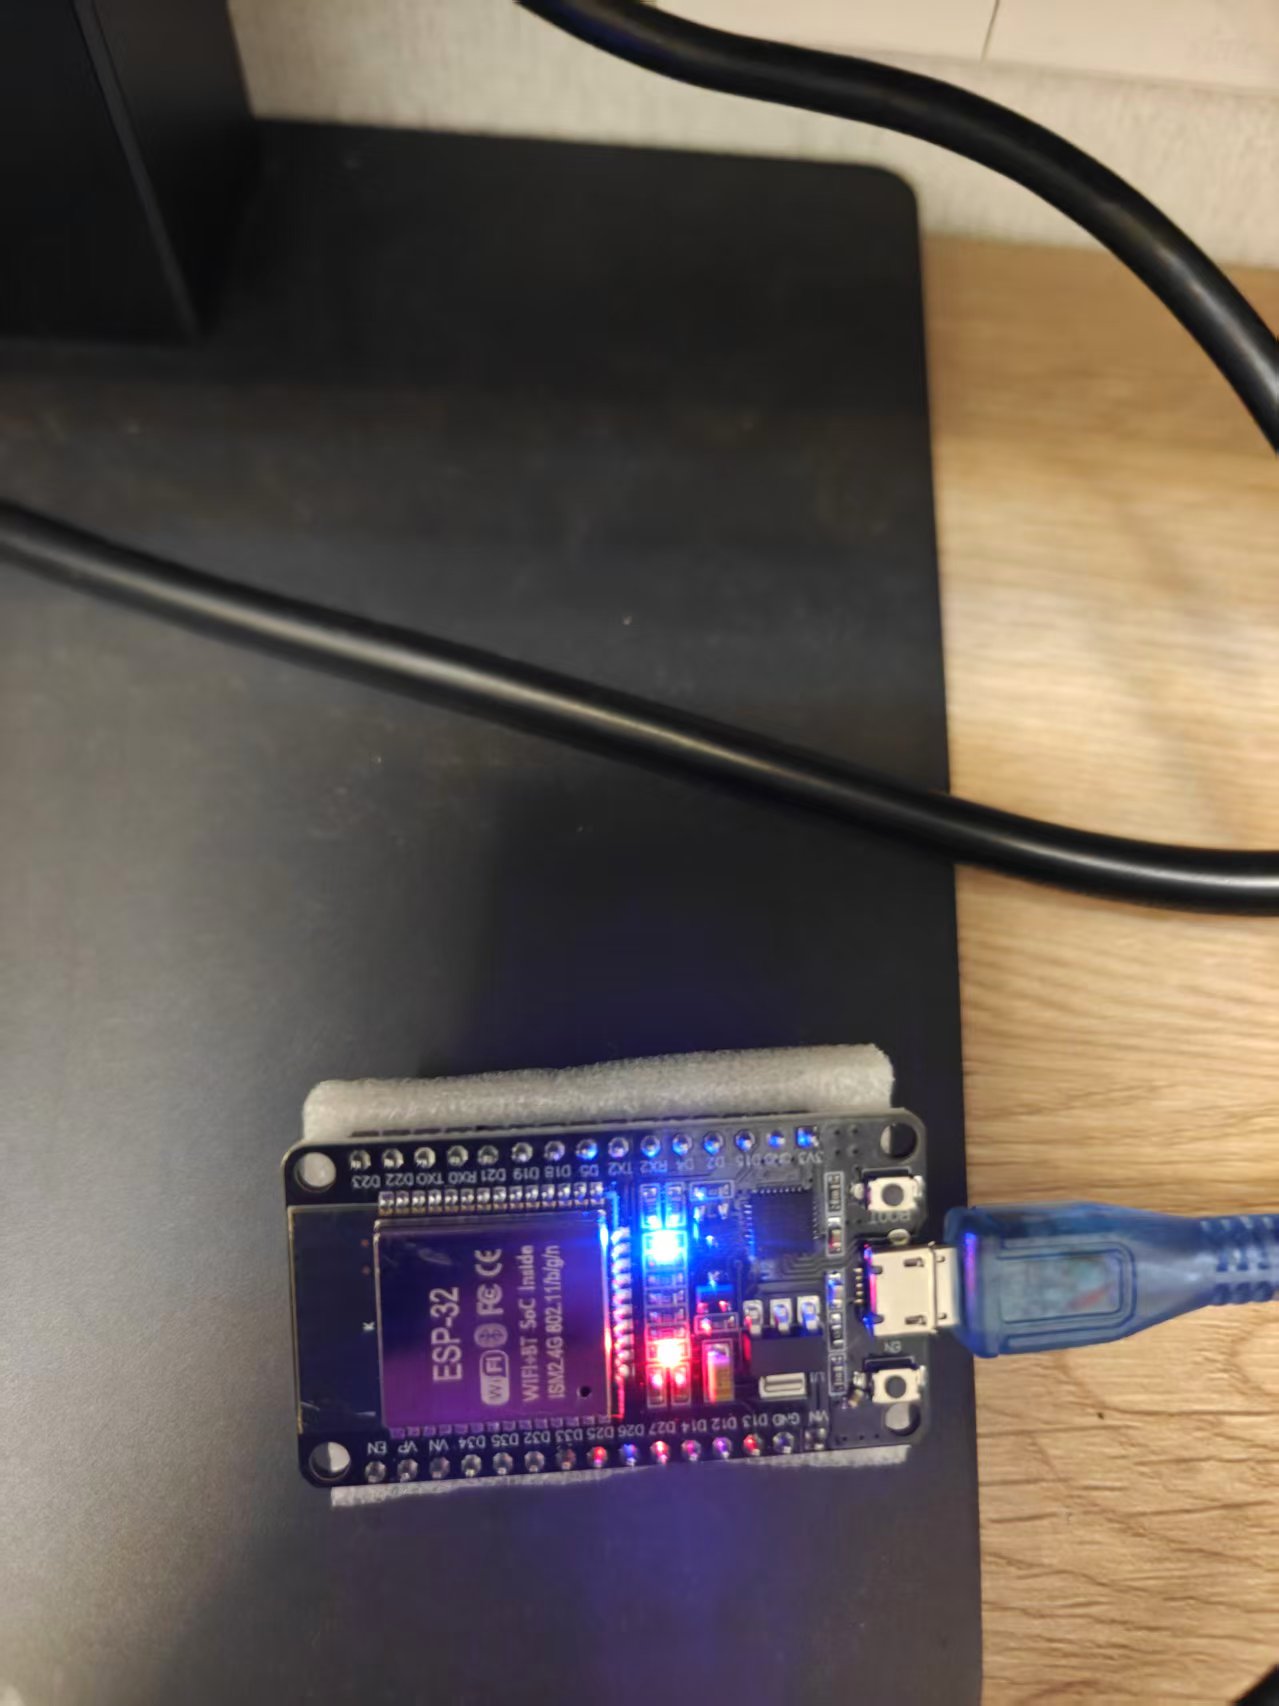
On most ESP32 dev boards the onboard LED is wired to GPIO2. Just type this into the REPL:
|
If the light comes on, you’ve got the right pin. If your board uses GPIO5, change 2 to 5 and try again.
6. Make the LED Blink
Enter the following code to toggle the LED every 0.5 seconds:
|
Press Ctrl + C to stop the loop and get back to >>>.
Here’s what it actually looks like:
7. Auto-Blink on Boot
If you want it to blink automatically as soon as power is applied, save the code as main.py, upload it, and reboot:
|
Upload it with mpremote:
|
After the reset the LED blinks on its own — whether or not the serial port is connected.
8. What Learning Alongside AI Feels Like
This whole run — downloading the firmware, flashing it, lighting the LED — I did the entire time by asking AI questions while working through it. When I hit permission issues, download-mode trouble, or an unresponsive REPL, I got feedback instantly. It’s way more fun than sitting in a classroom listening to a teacher lecture. Instant feedback is what keeps you motivated to keep learning.
9. Common Issues
- esptool can’t connect: Most likely it never entered download mode — press BOOT + EN again and retry.
- No permission on the serial port:
sudo chmod 666 /dev/ttyUSB0, or add your user to thedialoutgroup and log in again. - REPL not responding: Press Enter first; if main.py contains an infinite loop, hit Ctrl + C to break out of it.
- The LED doesn’t light up: The onboard LED pin might not be GPIO2 — try GPIO5.
10. References
- MicroPython ESP32 firmware download: https://micropython.org/download/ESP32_GENERIC/
- MicroPython official docs: https://docs.micropython.org/
The overall flow is: download the firmware → erase the flash → flash it → connect to the REPL → control GPIO. MicroPython turns the ESP32 into a little board you can write and run like Python, which will make sensors and small IoT projects much easier down the road.
评论
0 条评论