gitment: enable: true mint: true # RECOMMEND, A mint on Gitment, to support count, language and proxy_gateway count: true # Show comments count in post meta area lazy: true # Comments lazy loading with a button cleanly: true # Hide 'Powered by ...' on footer, and more language: # Force language, or auto switch by theme github_user: 'GitHub 用户名'# MUST HAVE, Your Github ID github_repo: '仓库名称'# MUST HAVE, The repo you use to store Gitment comments client_id: '上面申请的client ID'# MUST HAVE, Github client id for the Gitment client_secret: '上面申请的Client secret' # EITHER this or proxy_gateway, Github access secret token for the Gitment proxy_gateway: # Address of api proxy, See: https://github.com/aimingoo/intersect redirect_protocol: # Protocol of redirect_uri with force_redirect_protocol when mint enabled
修改 next 主题下的themes/next/layout/_third-party/comments 下的 gitment.swig,替换 js文件如下:
{% ifnot (theme.duoshuo and theme.duoshuo.shortname) and not theme.duoshuo_shortname %} {% if theme.gitment.enable and theme.gitment.client_id %} <!-- LOCAL: You can save these files to your site and update links --> {% if theme.gitment.mint %} {% set CommentsClass = "Gitmint" %} <link rel="stylesheet" href="https://aimingoo.github.io/gitmint/style/default.css"> <scriptsrc="https://file.awen.me/gitment.js"></script> {% else %} {% set CommentsClass = "Gitment" %} <link rel="stylesheet" href="https://imsun.github.io/gitment/style/default.css"> <scriptsrc="https://file.awen.me/gitment.browser.js"></script> {% endif %}
如果你不用我这个,你也可以自己搭建认证服务器,具体操作步骤如下
使用 Heroku 搭建GitHub 认证服务器
Heroku是一个支持多种编程语言的云平台即服务,注册Heroku,在右上角的“new”,选择“Create New App”新建一个应用。 根据操作系统下载并安装Heroku CLI,或者使用npm install heroku,我这里以mac为例
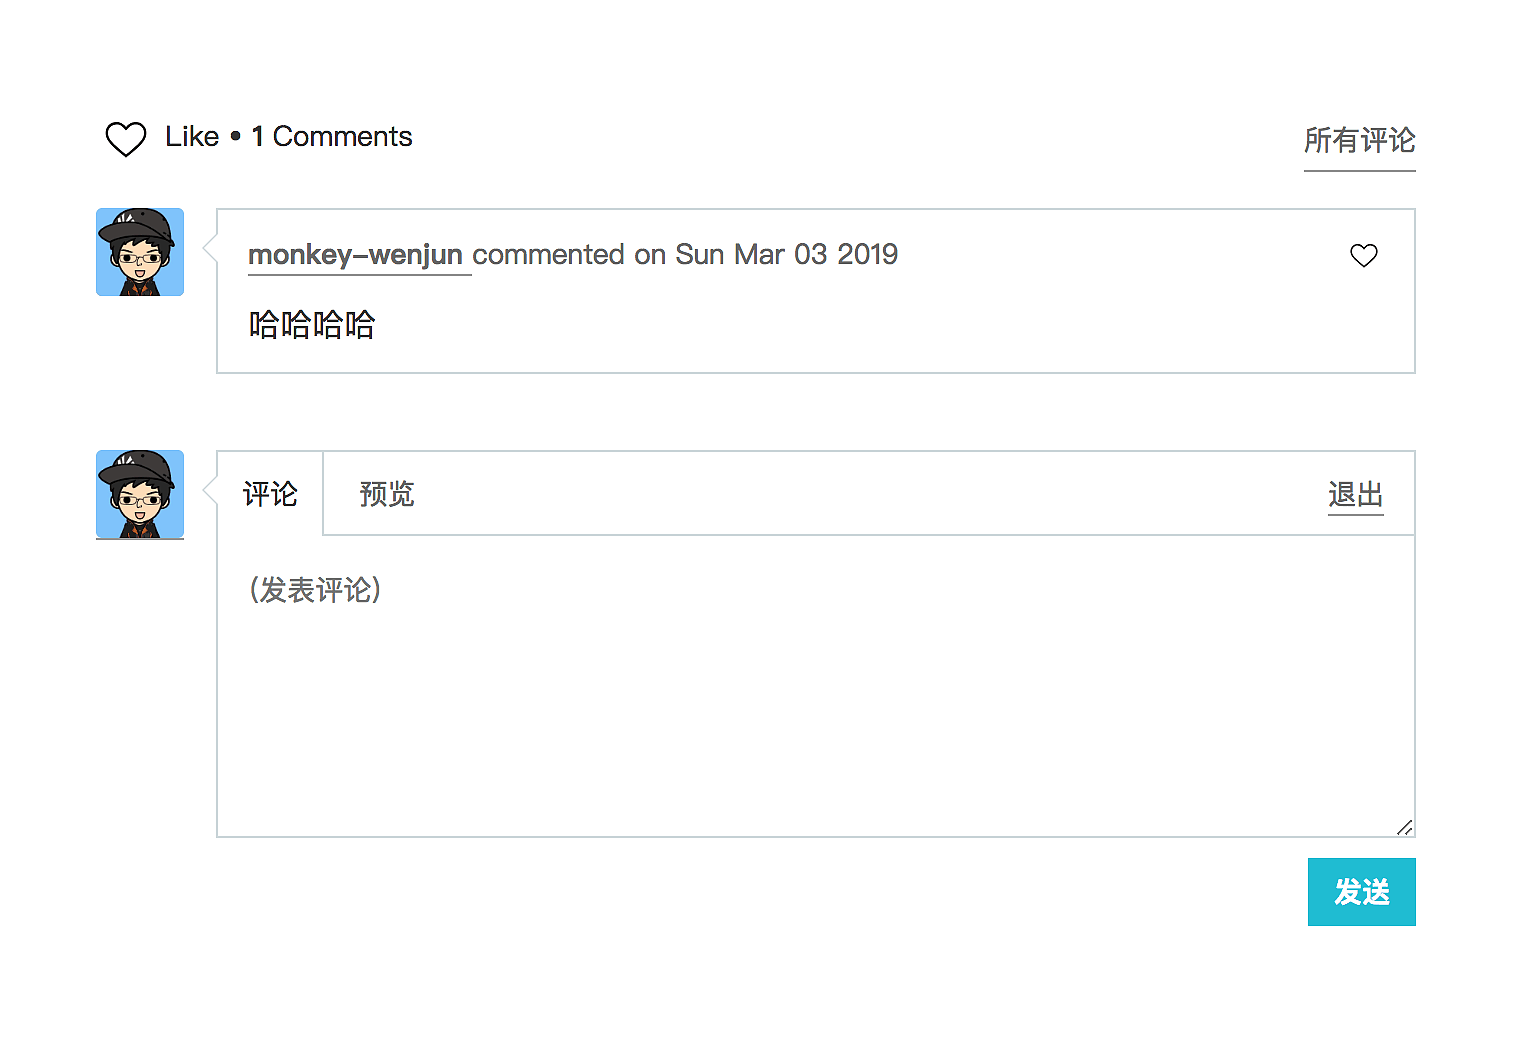
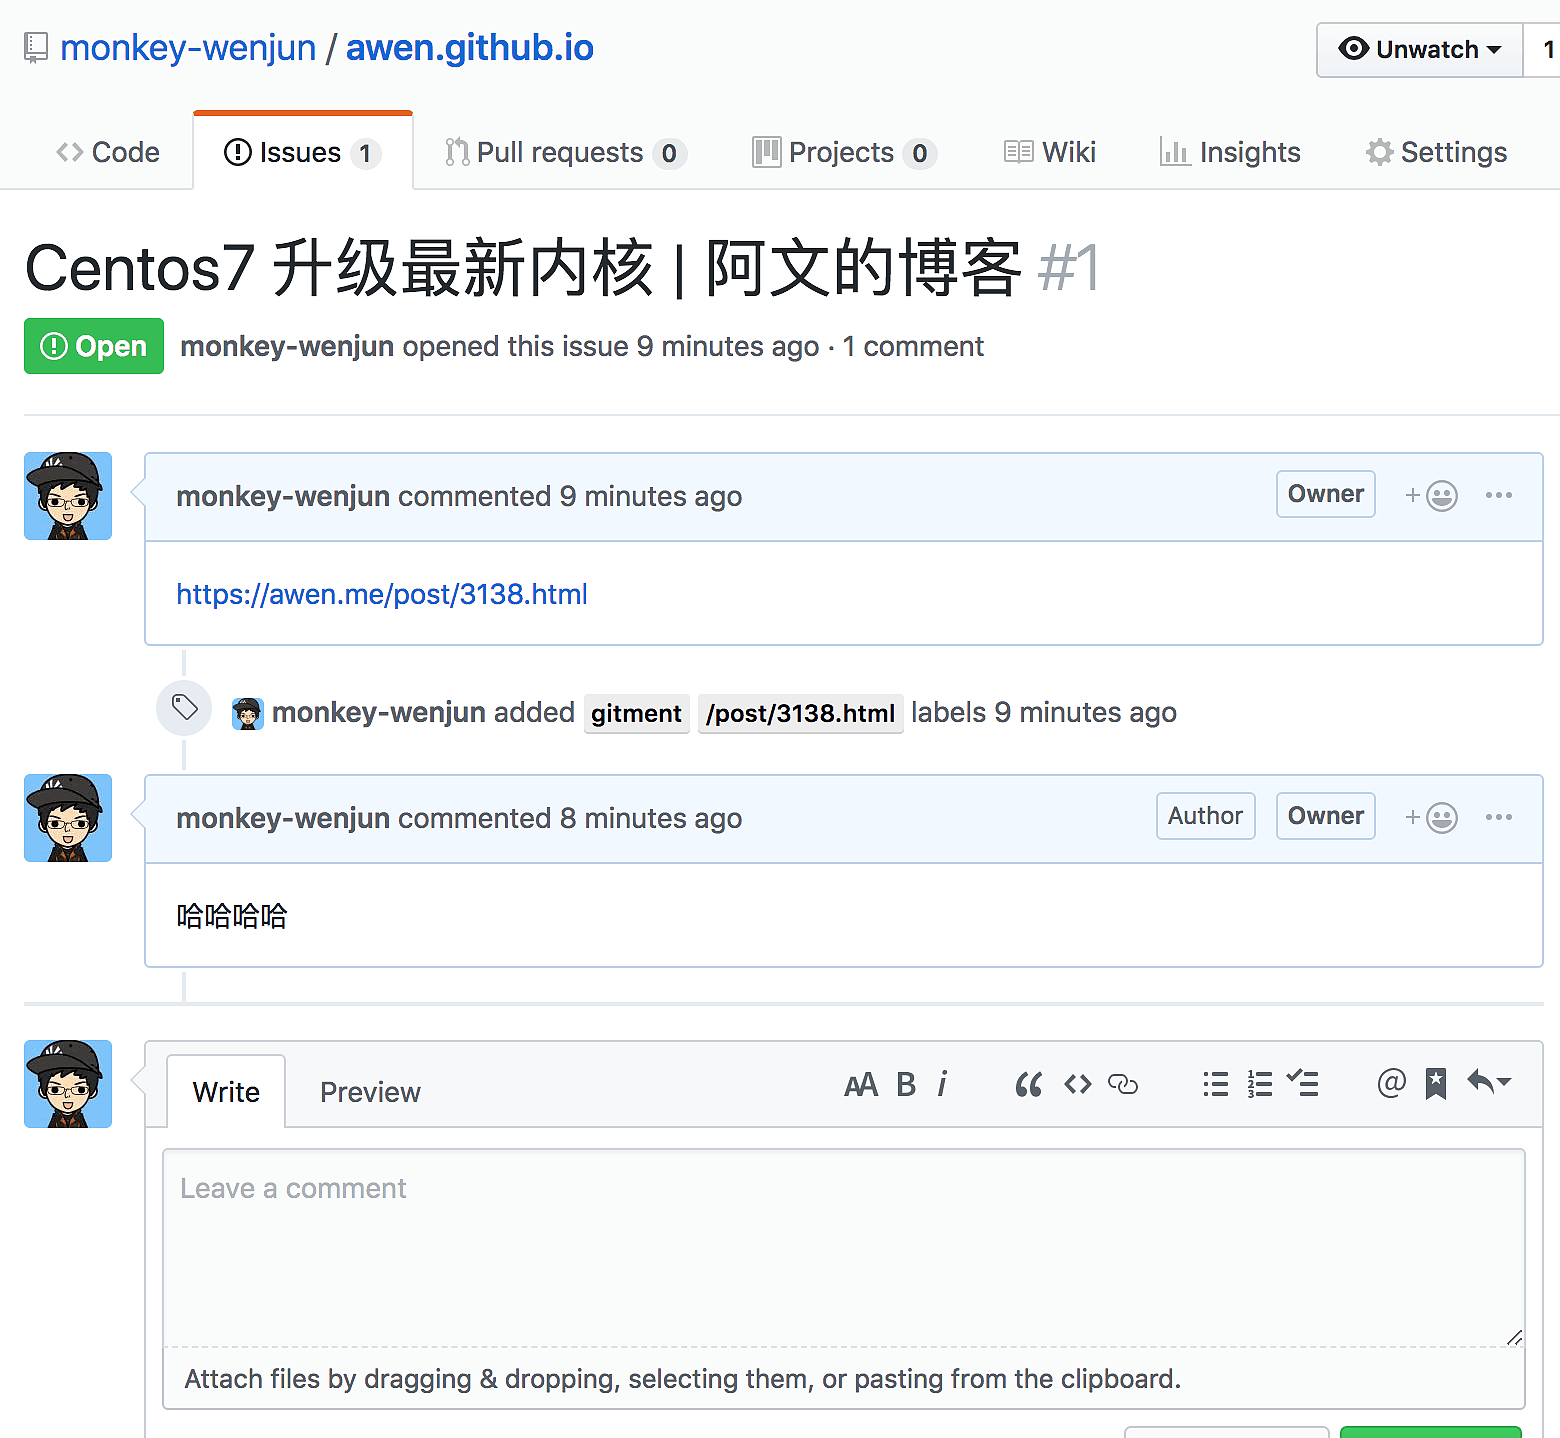
评论
0 条评论