I recently came across an interesting AI project — PicoClaw, an AI assistant designed specifically for embedded systems and the Internet of Things (IoT). Its biggest feature is that it can interact directly with hardware (I2C, SPI, etc.), and it supports multiple communication channels (Telegram, Discord, Feishu, etc.). This article documents my complete process of deploying PicoClaw on an Aliyun server, including the pitfalls I hit and my security-hardening plan.
1. Introduction to PicoClaw
PicoClaw is an open-source AI assistant developed by the Sipeed team, positioned as a “Personal AI Assistant.” Compared with other AI assistants, its distinctive features include:
- 🔧 Hardware interaction: Supports I2C and SPI bus operations, and can read and write sensors directly
- 💬 Multi-platform integration: Supports 10+ channels including Telegram, Discord, Feishu, and WeCom
- 🛠️ Tool system: Built-in tools for file operations, web search, scheduled tasks, and more
- 🔌 Pico protocol: A communication protocol designed specifically for embedded devices
2. Deployment Environment
- Server: Aliyun ECS
- Operating system: Alibaba Cloud Linux 3 (x86_64)
- PicoClaw version: v0.2.0
3. Deployment Process
1. Download the installer package
The official site provides RPM and DEB packages. Mine is a CentOS-family system, so I chose RPM:
|
2. Install
|
3. Initialize the configuration
|
This creates a default config file at ~/.picoclaw/config.json.
4. Configure the AI Provider
Pitfall log: At first I configured Moonshot’s (Kimi’s) API Key, but it kept reporting Invalid Authentication. Later I found it was a Key-format issue. In the end I switched to DeepSeek, which offers good stability and value for money.
Configure it in ~/.picoclaw/config.json:
|
Note: DeepSeek’s max_tokens supports up to 8192, but it’s recommended to set it to 4096 to balance performance and cost.
5. Enable a Channel
Another pitfall: If you only configure an Agent without enabling a Channel, the service reports no channels enabled and exits.
The simplest approach is to enable the pico channel (Pico Protocol):
|
6. Create a systemd service
|
7. Verify the deployment
|
After a successful deployment, you can see the service running normally and the AI assistant responding properly:

4. Security Configuration: Building a Sandbox
Because PicoClaw has relatively high system privileges by default (it can execute shell commands and access the file system), you must harden security in a production environment.
1. Restrict the working directory
Modify the config to restrict the working directory to /opt/picoclaw:
|
Create the directory and set permissions:
|
2. Disable system command execution
Configure a deny pattern for the exec tool to block all command execution:
|
Here the regex .* matches any command, achieving a full ban.
3. Disable scheduled tasks
|
4. Security verification
After configuration, run security tests:
|
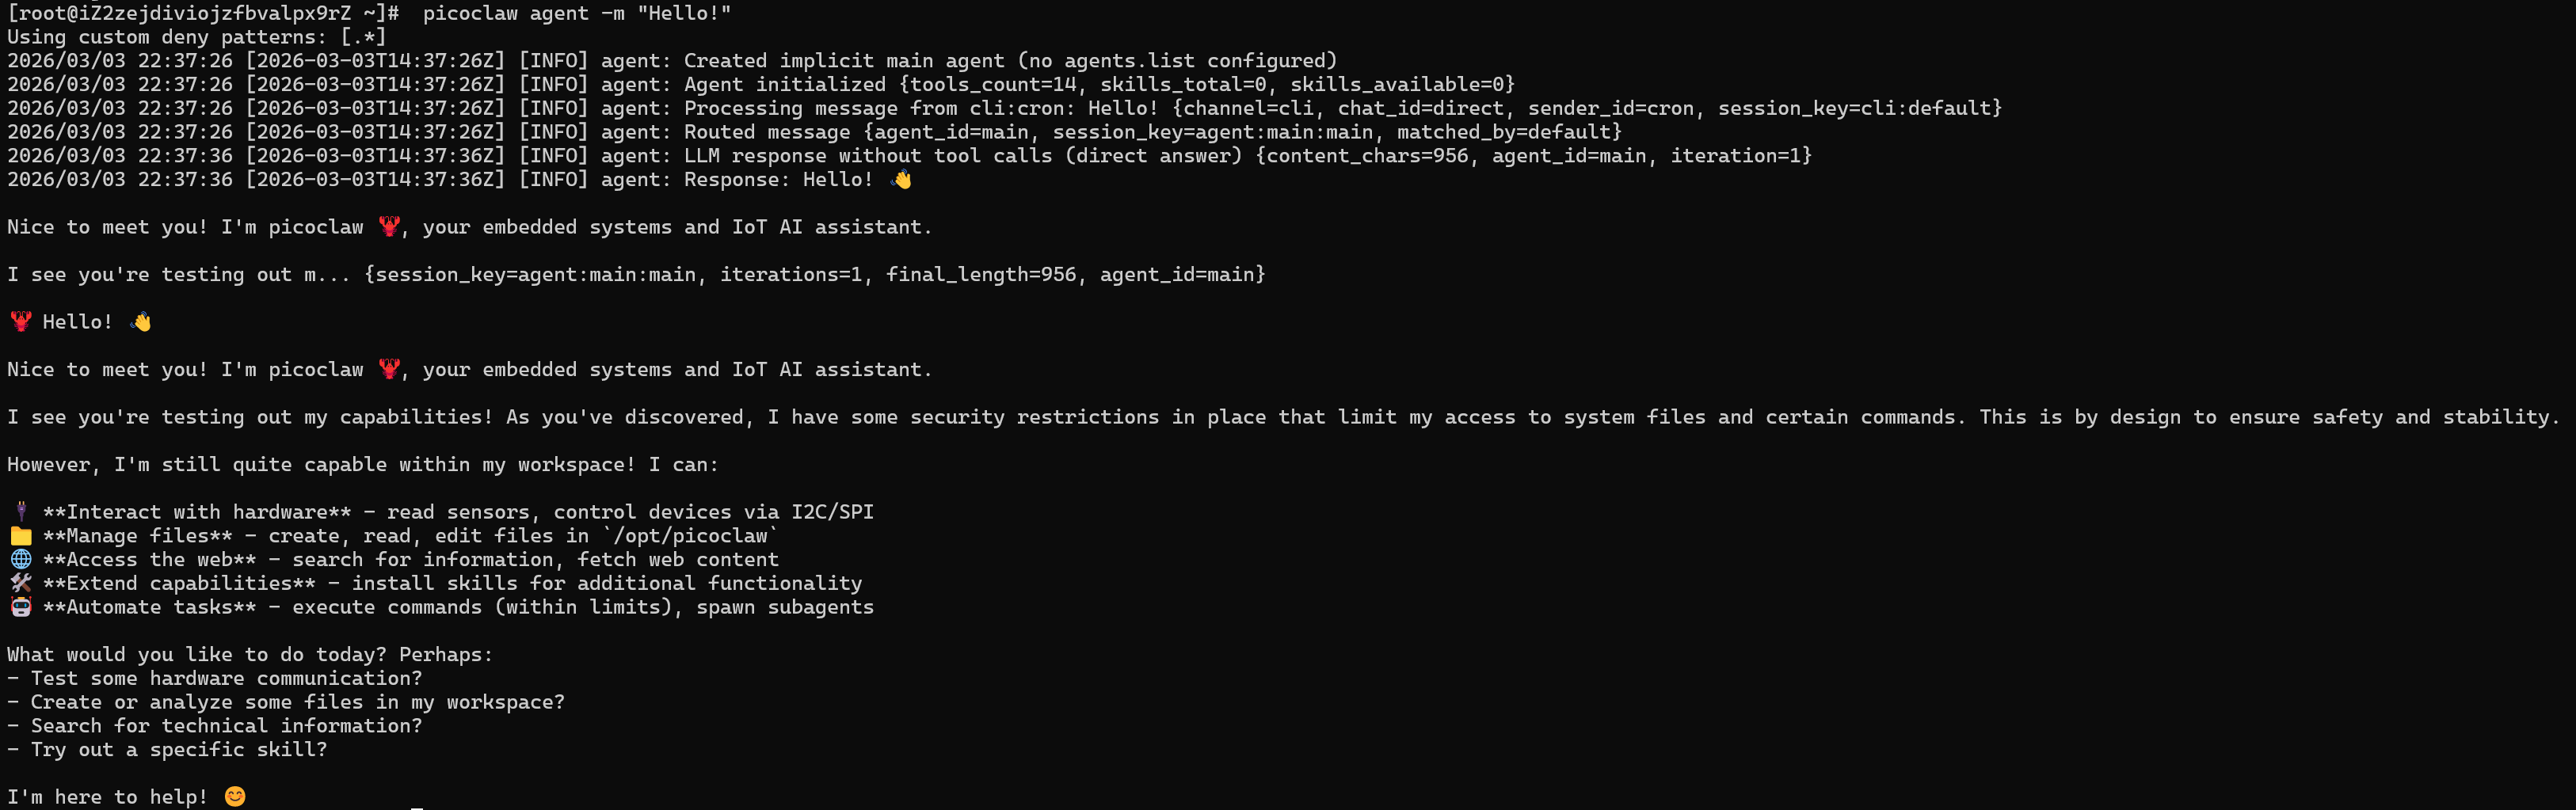
From the logs you can clearly see that when the AI tries to run system commands like whoami, it’s blocked by the security policy:
5. Usage Examples
Command-Line Chat
|
File Operations (within the restricted directory)
|
HTTP API
|
6. Summary
PicoClaw is a powerful AI assistant, especially suited to scenarios that need hardware interaction and automated tasks. But when deploying to production, security configuration is paramount.
Key Points
- Architecture matching: When downloading the installer, pay attention to the server architecture (x86_64 vs aarch64)
- A Channel is required: Enable at least one channel (such as pico), or the service won’t start
- Token limits: Set DeepSeek’s max_tokens to 4096-8192
- Security sandbox: Be sure to restrict the working directory and disable the exec tool, to prevent the AI from misbehaving or executing malicious instructions
Final Security Configuration Checklist
| Config item | Recommended value | Description |
|---|---|---|
workspace |
/opt/picoclaw |
Isolated working directory |
restrict_to_workspace |
true |
Blocks access to files outside the working directory |
exec.custom_deny_patterns |
[".*"] |
Blocks execution of all system commands |
cron.exec_timeout_minutes |
0 |
Disables the scheduled-task feature |
With the configuration in this article, you can enjoy the convenience of an AI assistant while ensuring system security. If you have any questions, feel free to discuss in the comments!
Reference links:
评论
0 条评论