[root@kvm ~]# ssh root@10.1.100.137 The authenticity of host '10.1.100.137 (10.1.100.137)' can't be established. RSA key fingerprint is71:fd:92:67:72:c6:02:45:cb:e7:66:0b:94:28:34:68. Are you sure you want tocontinue connecting (yes/no)? yes Warning: Permanently added '10.1.100.137' (RSA) to the list of known hosts. root@10.1.100.137's password: Last login: Sun Mar 1918:14:552017
但是,我们接下来要讲的是如何通过console去连接,我们开始了
参数配置
1.添加 ttyS0
[root@vm1 ~]# echo "ttyS0" >> /etc/securetty
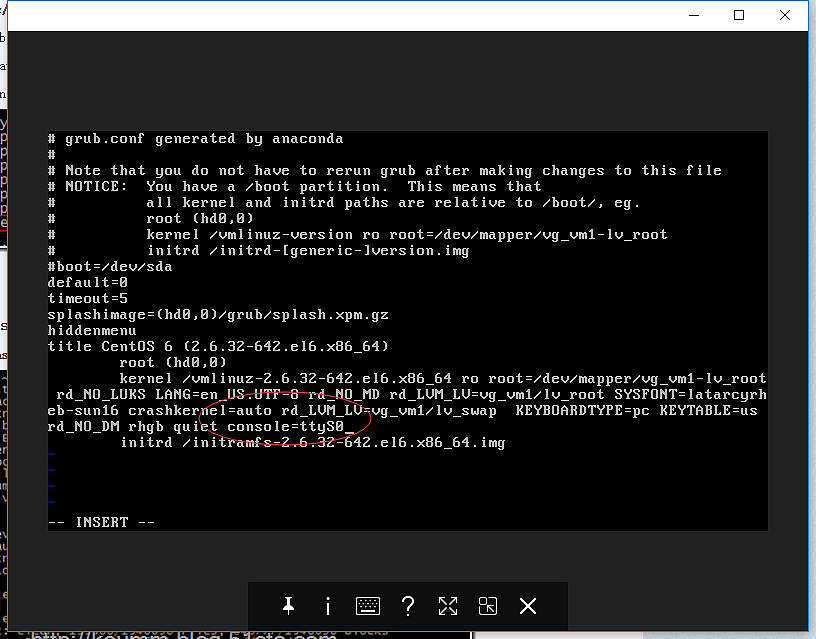
2.修改grup.conf文件
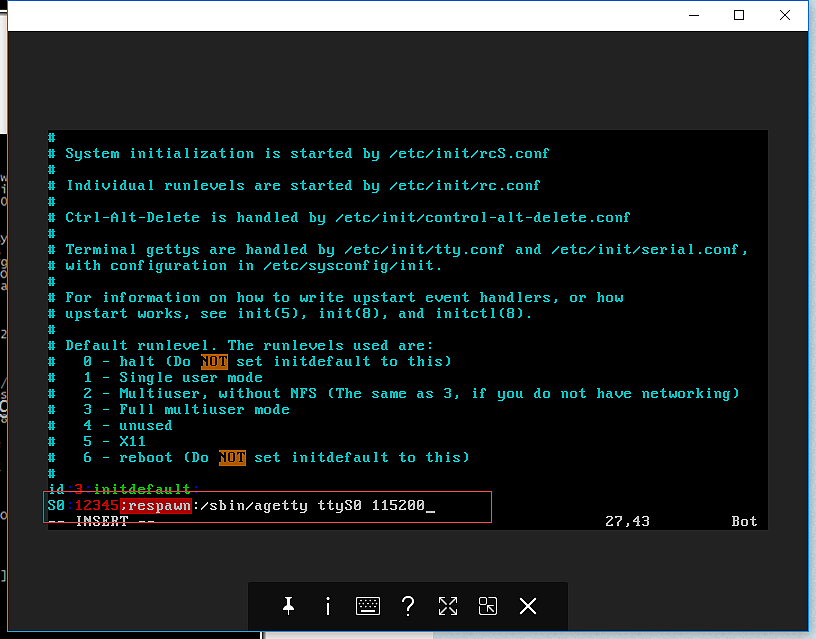
3.编辑/etc/inittab
4.reboot 重启
5.使用virsh console 连接虚拟机
[root@kvm ~]# virsh console vm1 Connected to domain vm1 Escape character is ^] Welcome to CentOS Starting udev: G[ OK ] Setting hostname vm1: [ OK ] Setting up Logical Volume Management:2 logical volume(s) in volume group "vg_vm1" now active [ OK ] Checking filesystems Checking all file systems. [/sbin/fsck.ext4 (1) -- /] fsck.ext4 -a /dev/mapper/vg_vm1-lv_root /dev/mapper/vg_vm1-lv_root: clean, 23063/558624 files, 268228/2230272 blocks [/sbin/fsck.ext4 (1) -- /boot] fsck.ext4 -a /dev/sda1 /dev/sda1: clean, 38/128016 files, 57869/512000 blocks [ OK ] Remounting root filesystem in read-write mode: [ OK ] Mounting local filesystems: [ OK ] Enabling /etc/fstabswaps: [ OK ] Entering non-interactive startup Starting monitoring for VG vg_vm1:2 logical volume(s) in volume group "vg_vm1" monitored [ OK ] ip6tables: Applying firewall rules: [ OK ] iptables: Applying firewall rules: [ OK ] Bringing up loopback interface: [ OK ] Bringing up interface eth0: Determining IP information for eth0... done. [ OK ] Starting auditd: [ OK ] Starting system logger: [ OK ] Mounting filesystems: [ OK ] Retrigger failed udev events[ OK ] Starting kdump:[FAILED] Starting sshd: [ OK ] Starting postfix: [ OK ] Starting crond: [ OK ]
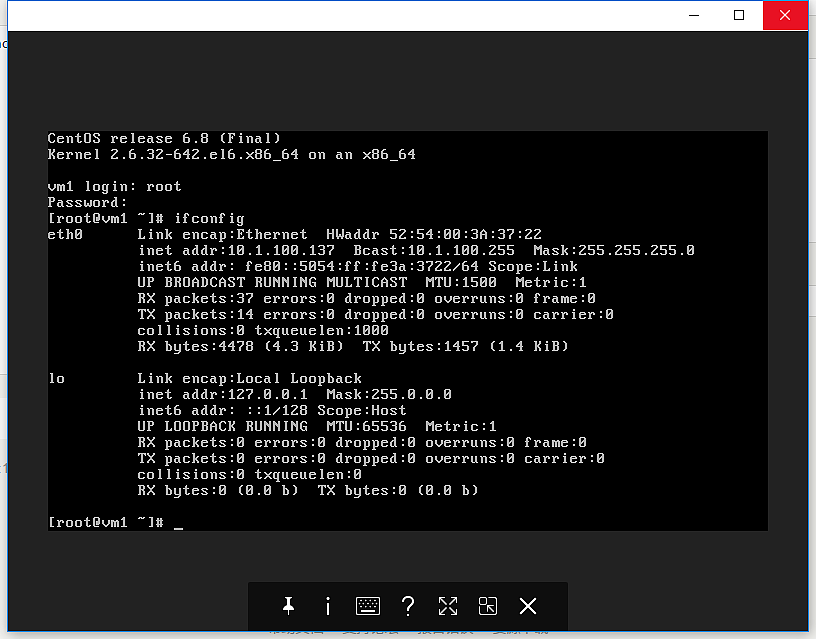
CentOS release 6.8 (Final) Kernel 2.6.32-642.el6.x86_64 on an x86_64
vm1 login: root Password: Last login: Sun Mar 1918:27:09 on tty1 [root@vm1 ~]#
评论
0 条评论