在学习linux过程中,经常需要重复给多台虚拟主机配置相同的配置,如果每次都要在对应的主机上做相同的操作,真的烦不胜烦,于是可以用ansible来管理多台主机,同样ansible也适用于小型或大型的生产环境中。编写好“剧本”就可以让ansible“唱戏”
ansible国内比较好的文档http://ansible-tran.readthedocs.io
Centos 安装
在学习linux过程中,经常需要重复给多台虚拟主机配置相同的配置,如果每次都要在对应的主机上做相同的操作,真的烦不胜烦,于是可以用ansible来管理多台主机,同样ansible也适用于小型或大型的生产环境中。编写好“剧本”就可以让ansible“唱戏”
1.需要安装epel源
wget https://dl.fedoraproject.org/pub/epel/epel-release-latest-6.noarch.rpm
sudo rpm -Uvh epel-release-6*.rpm
2.然后执行
yum -y install ansibleUbuntu 安装
其实我是比较喜欢用 Ubuntu 的,大部分主流开源软件直接 sudo apt-get 就可以安装,那么安装 ansible 直接使用
sudo apt-get install ansible就可以,然后查看 ansible 版本
root@ubuntu:/home/fwj# ansible --version
ansible 2.0.0.2
  config file = /etc/ansible/ansible.cfg
  configured module search path = Default w/o overrides
ansible 运行环境
ansible 配置文件是以 ini 格式存储配置数据的,在 ansible 中,几乎所有的配置项都可以通过 ansible 的 playbook 或环境变量来重新赋值。在执行 ansible 命令时,命令将会安装预设的顺序查找配置文件。
1.ansible_config:首先ansible 命令会检查环境变量,及这个环境变量将指向的配置文件
2.ansible.cfg 再次,将会检查当前用户 home 目录下的.ansible.cfg配置文件
3./etc/ansible/ansbile.cfg最后,会检查在软件包安装管理工具安装 ansbile 时自动产生的配置文件
ansible.cfg 配置参数
inventory—– 这个参数表示资源清单 inventory 文件的位置,资源清单其实就是一些 ansible 需要连接管理主机的列表,默认是在/etc/ansible/hosts
root@ubuntu:/home/fwj# cat /etc/ansible/ansible.cfg  | grep inventory
        #inventory      = /etc/ansible/hosts
        # if inventory variables overlap, does the higher precedence one win
libary — ansible 的操作动作,无论是本地还是远程,都会使用一小段代码来执行,这小段代码称为模块。这个 libary 参数就是指向存放 ansible 模块的目录,配置如下
 root@ubuntu:/home/fwj# cat /etc/ansible/ansible.cfg  | grep library
#library        = /usr/share/my_modules/
forks,ansible 最多能有多少个进程同时工作,默认设置最多5个进程并行处理。设置多个,可以根据主机的性能和被管理阶段的数量来决定
root@ubuntu:/home/fwj# cat /etc/ansible/ansible.cfg  | grep forks
#forks          = 5
sudo_user 默认是 root,默认执行命令的用户
remote——port 默认端口,是22
host_key_checking 是否检查 ssh 主机密钥
timeout ssh 超时时间,默认60s
log——path ansible 默认不记录日志,如需要可以在该处定义,另外需要注意执行 ansible 的用户需要对日志有写权限
配置 hosts
ansible的配置文件在/etc/ansible/hosts中,我们可以编辑配置文件,比如说,我希望管理2台虚拟主机用来构建一个lvs的环境,他们的ip分别是10.2.100.129和10.2.100.130. 我们可以在配置文件中增加如下内容[node-nginx] 表示我把这2个服务器分在了node-nginx 这个组里
[node-nginx]
10.2.100.129
10.2.100.130
配置免密码登陆
那么,编辑完后,我们可以测试下了,在测试之前,最好创建一个本地的ssh密钥,然后通过ssh-copy 复制到远程的主机,这样避免使用过程中出现频繁的输入密码的问题。
[root@localhost ~]# ssh-keygen -t rsa
Generating public/private rsa key pair.
Enter file in which to save the key (/root/.ssh/id_rsa):
Created directory '/root/.ssh'.
Enter passphrase (empty for no passphrase):
Enter same passphrase again:
Your identification has been saved in /root/.ssh/id_rsa.
Your public key has been saved in /root/.ssh/id_rsa.pub.
The key fingerprint is:
d6:59:b5:ad:b7:e7:2e:5a:bb:87:e6:6c:ab:d1:31:c4 root@localhost.localdomain
The key's randomart image is:
+--[ RSA 2048]----+
|              .  |
|             o o |
|            . E .|
|         . o . . |
|        S o   + .|
|       .     . +.|
|            . oo.|
|             +=oo|
|            o***o|
+-----------------+
然后
[root@localhost ~]# ssh-copy-id root@10.2.100.129
The authenticity of host '10.2.100.129 (10.2.100.129)' can't be established.
RSA key fingerprint is f3:57:c2:9c:1a:b0:7a:2a:7d:cc:d1:7e:d5:eb:13:0a.
Are you sure you want to continue connecting (yes/no)? yes
Warning: Permanently added '10.2.100.129' (RSA) to the list of known hosts.
root@10.2.100.129's password:
Now try logging into the machine, with "ssh 'root@10.2.100.129'", and check in:

  .ssh/authorized_keys

to make sure we haven't added extra keys that you weren't expecting.

[root@localhost ~]# ssh-copy-id root@10.2.100.130
root@10.2.100.130's password:
Now try logging into the machine, with "ssh 'root@10.2.100.130'", and check in:

  .ssh/authorized_keys

to make sure we haven't added extra keys that you weren't expecting.
使用 ping
嗯,准备工作完毕,我们可以开始最基础的ansbile操作了,使用ansible all -m ping 他会连接你ansible配置文件里所有的服务器发送ping的命令,执行成功显示如下:
[root@localhost ~]# ansible all -m ping
10.2.100.129 | SUCCESS => {
    "changed": false,
    "ping": "pong"
}
10.2.100.130 | SUCCESS => {
    "changed": false,
    "ping": "pong"
}那么,如果你只希望对某个组内的服务器进行远程管理,只需要把all 替换成对应的组就可以了
[root@localhost ~]# ansible node-nginx -m ping
10.2.100.129 | SUCCESS => {
    "changed": false,
    "ping": "pong"
}
10.2.100.130 | SUCCESS => {
    "changed": false,
    "ping": "pong"
}
批量执行命令
1.比如我希望查看当前登录用户都有谁,可以使用-m command -a "who" 去看这两台机器都连接了那些用户
[root@localhost ~]# ansible node-nginx -m command -a "who"
10.2.100.129 | SUCCESS | rc=0 >>
root     pts/0        2017-01-06 14:07 (10.2.100.1)
root     pts/1        2017-01-06 14:38 (10.2.100.128)
10.2.100.130 | SUCCESS | rc=0 >>
root     pts/0        2017-01-06 14:07 (10.2.100.1)
root pts/1 2017-01-06 14:38 (10.2.100.128)2.安装软件包,比如我们希望在远程服务器执行yum -y install gcc,可以执行如下命令
[root@localhost ~]# ansible node-nginx -m command -a "yum -y install gcc"
10.2.100.129 | SUCCESS | rc=0 >>
Loaded plugins: fastestmirror
Setting up Install Process
Loading mirror speeds from cached hostfile
 * base: mirrors.cn99.com
 * extras: mirrors.zju.edu.cn
 * updates: mirrors.cn99.com
Resolving Dependencies
--> Running transaction check
---> Package gcc.x86_64 0:4.4.7-17.el6 will be installed
--> Processing Dependency: libgomp = 4.4.7-17.el6 for package: gcc-4.4.7-17.el6.x86_64
--> Processing Dependency: cpp = 4.4.7-17.el6 for package: gcc-4.4.7-17.el6.x86_64
--> Processing Dependency: glibc-devel >= 2.2.90-12 for package: gcc-4.4.7-17.el6.x86_64
--> Processing Dependency: cloog-ppl >= 0.15 for package: gcc-4.4.7-17.el6.x86_64
--> Processing Dependency: libgomp.so.1()(64bit) for package:
……略
3.执行脚本
[root@localhost ~]# ansible node-nginx -m command -a "/etc/init.d/iptables stop"
10.2.100.129 | SUCCESS | rc=0 >>
iptables: Setting chains to policy ACCEPT: filter [  OK  ]
iptables: Flushing firewall rules: [  OK  ]
iptables: Unloading modules: [  OK  ]
10.2.100.130 | SUCCESS | rc=0 >>
iptables: Setting chains to policy ACCEPT: filter [  OK  ]
iptables: Flushing firewall rules: [  OK  ]
iptables: Unloading modules: [  OK  ]
帮助信息
1.help
root@ubuntu:/home/fwj# ansible –help
2.ansible-doc 可以列出 ansible 支持的模块
root@ubuntu:/home/fwj# ansible-doc -l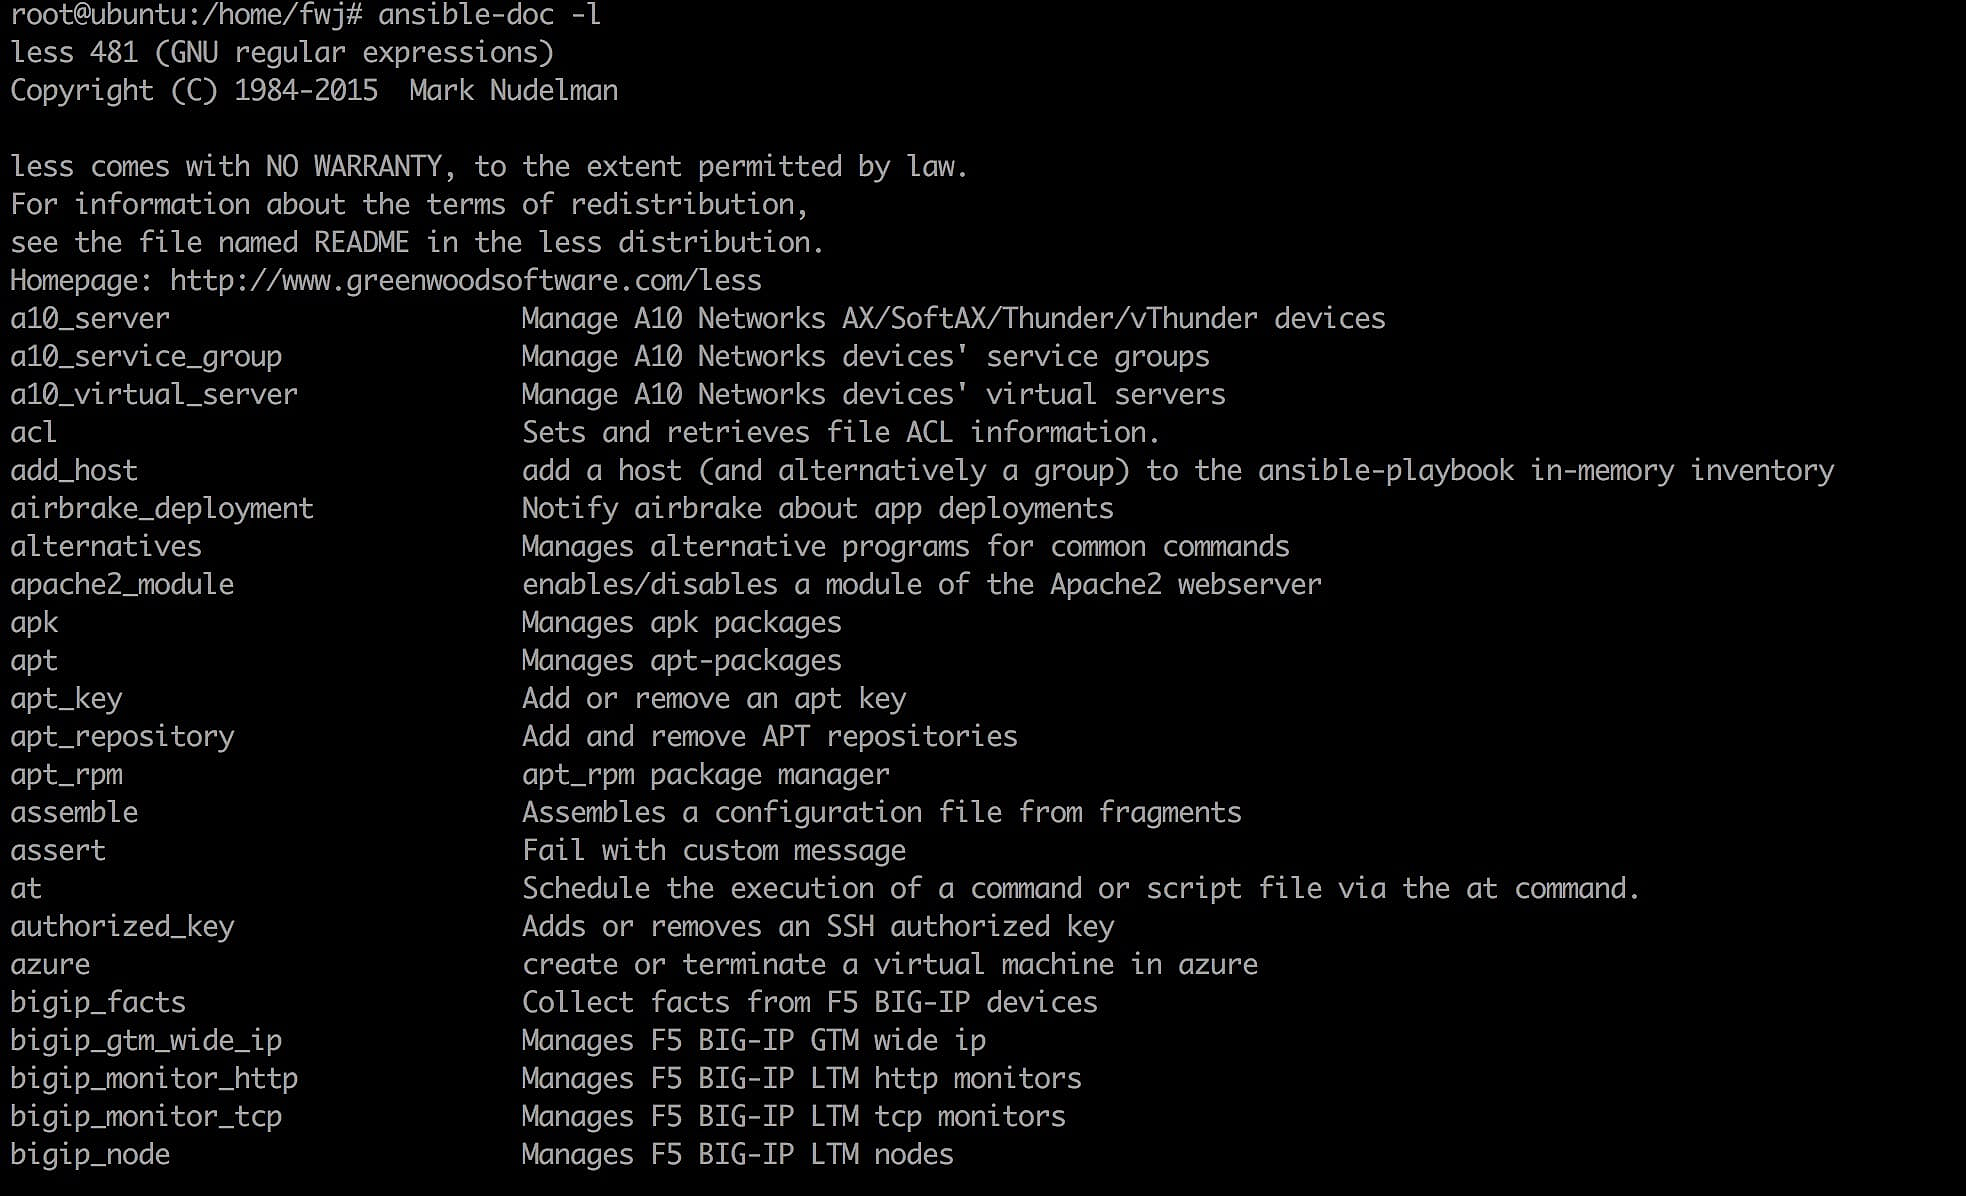
3.查看 yum 模块
root@ubuntu:/home/fwj# ansible-doc -s yum
less 481 (GNU regular expressions)
Copyright (C) 1984-2015  Mark Nudelman

less comes with NO WARRANTY, to the extent permitted by law.
For information about the terms of redistribution,
see the file named README in the less distribution.
Homepage: http://www.greenwoodsoftware.com/less
- name: Manages packages with the `yum' package manager
  action: yum
      conf_file              # The remote yum configuration file to use for the transaction.
      disable_gpg_check      # Whether to disable the GPG checking of signatures of packages being installed. Has an effect only if state is `present' or
                               `latest'.
      disablerepo            # `Repoid' of repositories to disable for the install/update operation. These repos will not persist beyond the transaction. When
                               specifying multiple repos, separate them with a ",".
      enablerepo             # `Repoid' of repositories to enable for the install/update operation. These repos will not persist beyond the transaction. When
                               specifying multiple repos, separate them with a ",".
      exclude                # Package name(s) to exclude when state=present, or latest
      list                   # Various (non-idempotent) commands for usage with `/usr/bin/ansible' and `not' playbooks. See examples.
      name=                  # Package name, or package specifier with version, like `name-1.0'. When using state=latest, this can be '*' which means run: yum
                               -y update. You can also pass a url or a local path to a rpm file.  To operate on several
                               packages this can accept a comma separated list of packages or (as of 2.0) a list of packages.
      state                  # Whether to install (`present' or `installed', `latest'), or remove (`absent' or `removed') a package.
      update_cache           # Force updating the cache. Has an effect only if state is `present' or `latest'.
ansible 组件介绍
ansible Inventory
1.支持多个 inventory,可以通过修改 ansible.cfg中的 hosts 文件的定义,或使用 ANSIBLE-HOSTS 环境 变量定义。不同的文件存放不同的主机。
root@ubuntu:/opt/ansible# pwd
/opt/ansible
root@ubuntu:/opt/ansible# cat /etc/ansible/ansible.cfg
# config file for ansible -- http://ansible.com/
# ==============================================

# nearly all parameters can be overridden in ansible-playbook
# or with command line flags. ansible will read ANSIBLE_CONFIG,
# ansible.cfg in the current working directory, .ansible.cfg in
# the home directory or /etc/ansible/ansible.cfg, whichever it
# finds first

[defaults]

# some basic default values...

inventory      = /opt/ansible/
2.动态 inventory
在实际应用部署中可能会有大量的主机列表。如果需要手动维护是一个非常繁琐的事情。因此,我们可以使用 ansible 的动态 inventory 来实现。不过这里就不写了 有需要在看吧。
内置参数
| 参数 | 解释 | 列子 |
|---|---|---|
| ansible_ssh_host | 定义 host ssh 地址 | ansible_ssh_host=192.168.1.117 |
| ansible_ssh_port | 定义 ssh 端口 | ansible_ssh_port=500 |
| ansible_ssh_user | 定义 ssh 认证用户 | ansbile_ssh_user=root |
| ansibe_ssh_pass | 定义 ssh 认证密码 | ansible_ssh_pass=’123’ |
| ansible_sudo | 定义 hosts sudo 用户 | ansible_sudo=pi |
| ansible_sudo_pass | 定义 hosts sudo 密码 | ansible_sudo_pass=’123’ |
| ansible_sudo _exe | 定义 hosts sudo 路径 | ansible_sudo _exe=/usr/bin/sudo |
| ansible_connection | 定义 hosts 连接方式 | ansible_connection=local |
| anasible_ssh_private_ket_file | 定义 host 私钥 | ansible_ssh_private_key_file=/root/key |
| ansible_shell_type | 定义 shell类型 | ansible_shel_type=zsh |
| ansible_python_interpreter | 定义 hosts 任务执行 python 的路径 |
Ansible Ad-Hoc 命令
执行 shell
ansible 的命令都是并发执行的
root@ubuntu:/opt/ansible# ansible rhce -m shell -a "hostname" -o
192.168.1.111 | SUCCESS | rc=0 | (stdout) elk
192.168.1.117 | SUCCESS | rc=0 | (stdout) server
192.168.1.100 | SUCCESS | rc=0 | (stdout) client
我们除了默认定义的并发参数 forks 来控制,还可以通过-f 参数指定
root@ubuntu:/opt/ansible# ansible rhce -m shell -a "uname -ar" -f 3 -o
192.168.1.100 | SUCCESS | rc=0 | (stdout) Linux client 3.10.0-514.21.2.el7.x86_64 #1 SMP Tue Jun 20 12:24:47 UTC 2017 x86_64 x86_64 x86_64 GNU/Linux
192.168.1.111 | SUCCESS | rc=0 | (stdout) Linux elk 3.10.0-514.el7.x86_64 #1 SMP Tue Nov 22 16:42:41 UTC 2016 x86_64 x86_64 x86_64 GNU/Linux
192.168.1.117 | SUCCESS | rc=0 | (stdout) Linux server 3.10.0-514.26.1.el7.x86_64 #1 SMP Thu Jun 29 16:05:25 UTC 2017 x86_64 x86_64 x86_64 GNU/Linux
复制文件
复制文件,我们还可以使用 copy 模块来批量下发文件,文件变化通过 md5值来判断
root@ubuntu:/opt/ansible# ansible rhce -m copy -a 'src=/opt/ansible/lvs dest=/root/'
192.168.1.100 | SUCCESS => {
    "changed": true,
    "checksum": "da39a3ee5e6b4b0d3255bfef95601890afd80709",
    "dest": "/root/lvs",
    "gid": 0,
    "group": "root",
    "md5sum": "d41d8cd98f00b204e9800998ecf8427e",
    "mode": "0644",
    "owner": "root",
    "size": 0,
    "src": "/root/.ansible/tmp/ansible-tmp-1499222285.22-249531326889064/source",
    "state": "file",
    "uid": 0
}
192.168.1.111 | SUCCESS => {
    "changed": true,
    "checksum": "da39a3ee5e6b4b0d3255bfef95601890afd80709",
    "dest": "/root/lvs",
    "gid": 0,
    "group": "root",
    "md5sum": "d41d8cd98f00b204e9800998ecf8427e",
    "mode": "0644",
    "owner": "root",
    "size": 0,
    "src": "/root/.ansible/tmp/ansible-tmp-1499222285.24-61671295731904/source",
    "state": "file",
    "uid": 0
}
192.168.1.117 | SUCCESS => {
    "changed": true,
    "checksum": "da39a3ee5e6b4b0d3255bfef95601890afd80709",
    "dest": "/root/lvs",
    "gid": 0,
    "group": "root",
    "md5sum": "d41d8cd98f00b204e9800998ecf8427e",
    "mode": "0644",
    "owner": "root",
    "size": 0,
    "src": "/root/.ansible/tmp/ansible-tmp-1499222285.28-75392449086873/source",
    "state": "file",
    "uid": 0
}
当然这中间你还可以自定义 owner mode 等设置
包管理服务
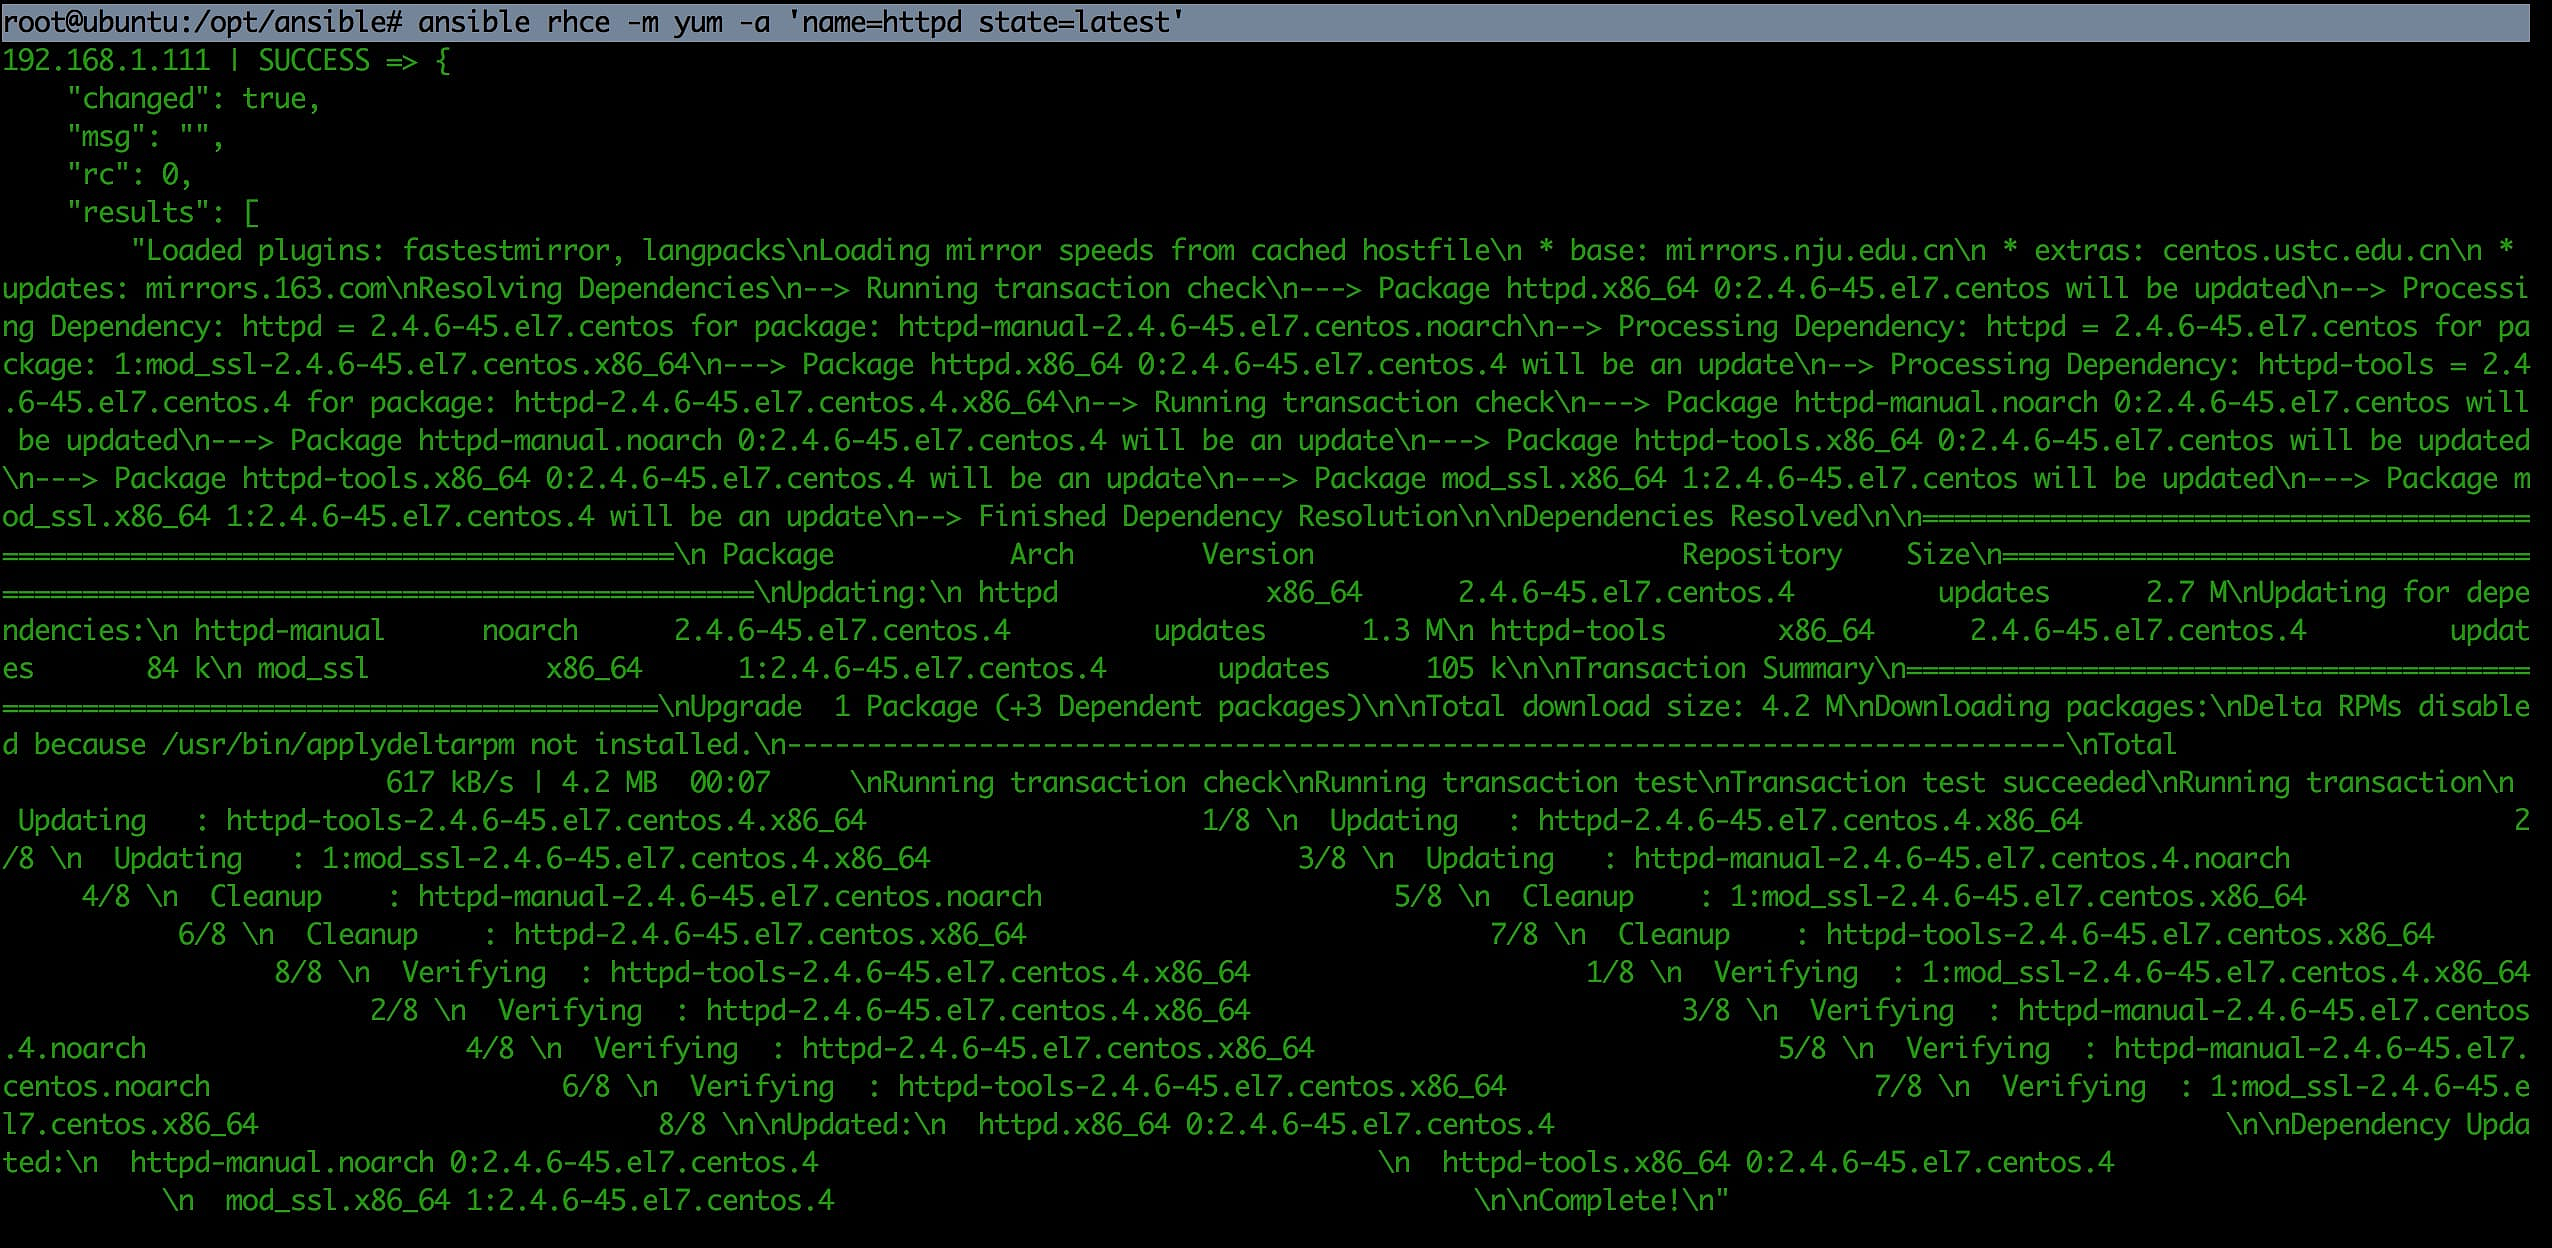
root@ubuntu:/opt/ansible# ansible rhce -m yum -a 'name=httpd state=latest'