遇到海外节点上传超时,比如通过 api 接口上传报类似如下错误
RestClient::Exceptions::ReadTimeout: Timed out reading data from server首先,确认下代码里面的超时时间有没有设置,设置了多久,因为如果是海外上传的话,可能因为网络问题,导致超时也是有可能的,这个要具体分析。我们可以通过以下几个方面来判断
ping
这一步,我们得到又拍云 api 解析出来的节点 ip,发现 ping 值基本还是可以的,有11%的包出现了丢包,但是总体来看,每个包都有返回而不是 timeout
root@ubuntu-1gb-sfo1-01:~# ping v0.api.upyun.com
 PING asia.b9.aicdn.com (43.230.89.190) 56(84) bytes of data.
 64 bytes from 43.230.89.190: icmp_seq=1 ttl=49 time=155 ms
 64 bytes from 43.230.89.190: icmp_seq=2 ttl=49 time=155 ms
 64 bytes from 43.230.89.190: icmp_seq=3 ttl=49 time=155 ms
 64 bytes from 43.230.89.190: icmp_seq=4 ttl=49 time=156 ms
 64 bytes from 43.230.89.190: icmp_seq=5 ttl=49 time=155 ms
 64 bytes from 43.230.89.190: icmp_seq=6 ttl=49 time=155 ms
 64 bytes from 43.230.89.190: icmp_seq=7 ttl=49 time=155 ms
 64 bytes from 43.230.89.190: icmp_seq=8 ttl=49 time=155 ms
 ^C
 --- asia.b9.aicdn.com ping statistics ---
 9 packets transmitted, 8 received, 11% packet loss, time 10912ms
 rtt min/avg/max/mdev = 155.527/155.717/156.104/0.385 ms
判断中间链路是否正常
可以借助 mtr 来进行测试
ubuntu 系统
sudo apt-get install mtrcentos 系统
yum -y install mtr然后运行
root@ubuntu-1gb-sfo1-01:~# mtr v0.api.upyun.com查看结果,多执行几分钟看看 Loss%这一列有没有对应的 IP 或域名出现大量的丢包现象

测试网络上下行速度
可以参考这篇文章:https://awen.me/post/1141940955.html
测试节点上传是否正常
root@ubuntu-1gb-sfo1-01:~# curl -T speedtest.py -X PUT -H Host:v0.api.upyun.com http://43.230.89.166/bucket/ss.py -u fang:123456-v
*   Trying 43.230.89.166...
* Connected to 43.230.89.166 (43.230.89.166) port 80 (#0)
* Server auth using Basic with user 'fangwenjun'
> PUT /file201503/ss.py HTTP/1.1
> Host:v0.api.upyun.com
> Authorization: Basic ZmFuZ3dlbmp1bjpmd2pAOTAxMjAzQUFxcQ==
> User-Agent: curl/7.47.0
> Accept: */*
> Content-Length: 47228
> Expect: 100-continue
>
< HTTP/1.1 100 Continue
* We are completely uploaded and fine
< HTTP/1.1 200 OK
< Server: marco/1.4
< Content-Type: application/octet-stream
< Transfer-Encoding: chunked
< Connection: keep-alive
< X-Request-Id: e6bbc1a2edc448c265b4d7f80efd3753
< X-Request-Path: api-php-082
< Date: Fri, 23 Jun 2017 10:01:08 GMT
< Access-Control-Allow-Origin: *
<
* Connection #0 to host 43.230.89.166 left intact
返回的状态是200 就表示上传成功了
命令格式
curl -T 本地文件 -X PUT -H Host:v0.api.upyun.com http://节点IP/bucket/ 上传后的报错的文件名 -u 操作员:密码 -v
节点IP 就是你 ping v0.api.upyun.com 得到的 ip。如果上传成功说明没有问题,如果失败继续往下看
在执行上一步操作之前,在开一个ssh 连接到服务器,执行如下命令
tcpdump -i eth0 tcp port 80得到如下结果,这样如果你看不懂,继续往下看
     root@ubuntu-1gb-sfo1-01:~# tcpdump -i eth0  tcp port 80
tcpdump: verbose output suppressed, use -v or -vv for full protocol decode
listening on eth0, link-type EN10MB (Ethernet), capture size 262144 bytes
18:05:29.845227 IP 162.243.153.238.57874 > 43.230.89.166.http: Flags [S], seq 526911320, win 29200, options [mss 1460,sackOK,TS val 6202003 ecr 0,nop,wscale 7], length 0
18:05:30.007885 IP 43.230.89.166.http > 162.243.153.238.57874: Flags [S.], seq 3212301003, ack 526911321, win 28960, options [mss 1460,sackOK,TS val 1082030422 ecr 6202003,nop,wscale 10], length 0
18:05:30.007999 IP 162.243.153.238.57874 > 43.230.89.166.http: Flags [.], ack 1, win 229, options [nop,nop,TS val 6202043 ecr 1082030422], length 0
18:05:30.008518 IP 162.243.153.238.57874 > 43.230.89.166.http: Flags [P.], seq 1:200, ack 1, win 229, options [nop,nop,TS val 6202043 ecr 1082030422], length 199: HTTP: PUT /file201503/ss.py HTTP/1.1
18:05:30.171946 IP 43.230.89.166.http > 162.243.153.238.57874: Flags [.], ack 200, win 30, options [nop,nop,TS val 1082030472 ecr 6202043], length 0
18:05:30.172174 IP 43.230.89.166.http > 162.243.153.238.57874: Flags [P.], seq 1:26, ack 200, win 30, options [nop,nop,TS val 1082030472 ecr 6202043], length 25: HTTP: HTTP/1.1 100 Continue
18:05:30.172200 IP 162.243.153.238.57874 > 43.230.89.166.http: Flags [.], ack 26, win 229, options [nop,nop,TS val 6202084 ecr 1082030472], length 0
先执行
tcpdump -i eth0 tcp port 80 -w package.pcap然后执行上传命令得到如下结果
root@ubuntu-1gb-sfo1-01:~# tcpdump -i eth0  tcp port 80  -w package.pcap
tcpdump: listening on eth0, link-type EN10MB (Ethernet), capture size 262144 bytes
^C47 packets captured
47 packets received by filter
0 packets dropped by kernel
root@ubuntu-1gb-sfo1-01:~#
然后查看目录下有一个 package.pcap的文件,用 scp 工具或者你可以使用的工具把这个文件下载到本地
root@ubuntu-1gb-sfo1-01:~# ls
  package.pcap  speedtest.py
root@ubuntu-1gb-sfo1-01:~#
提供一下工具
Windows: winscp
Windows/linux/mac:filezilla
以 filezilla 为例
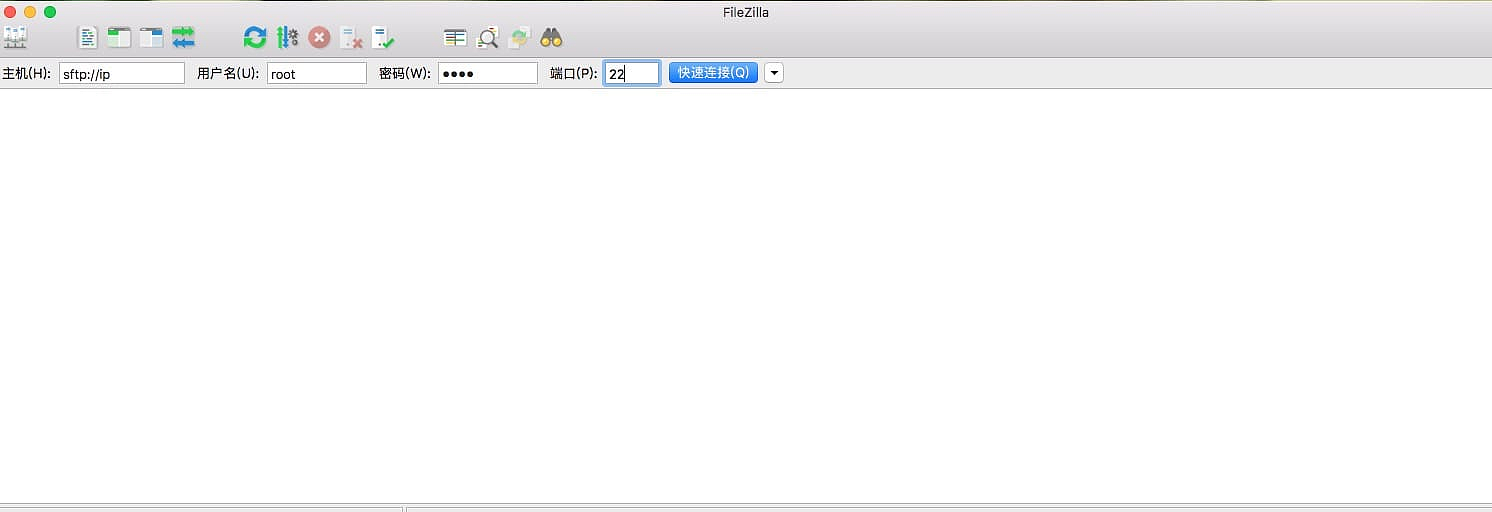
主机填写:sftp://ip 用户名 密码 端口进行连接
提供以上收集的信息反馈给又拍云进行排查,据说速度相当快。
本教程不仅仅适用于海外节点。注意一定要把信息给全,不然只是发一个报错没人知道怎么排查。

